2015 Subaru Forester FT-8800 Radio Installation

(Please scroll down for an update for newer models)

Tools

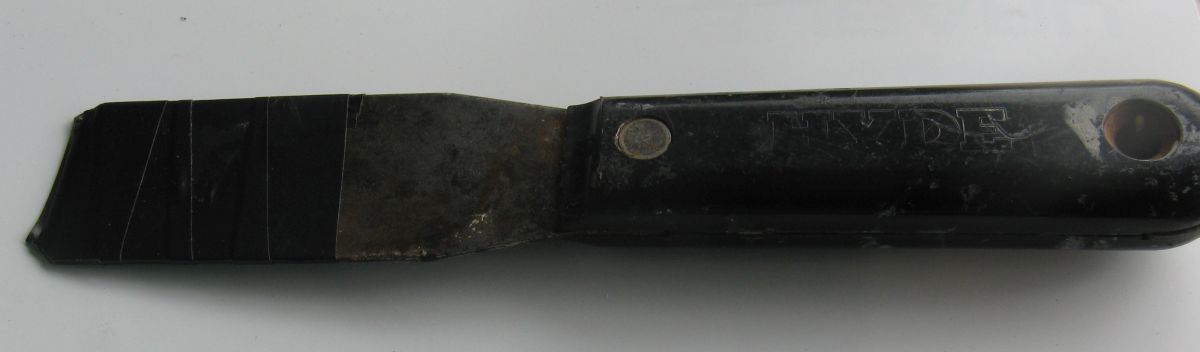
Scraper.  Use a bench grinder or file to round the corners on a scraper and then wrap it with PVC tape.  It will be used to pry trim parts.
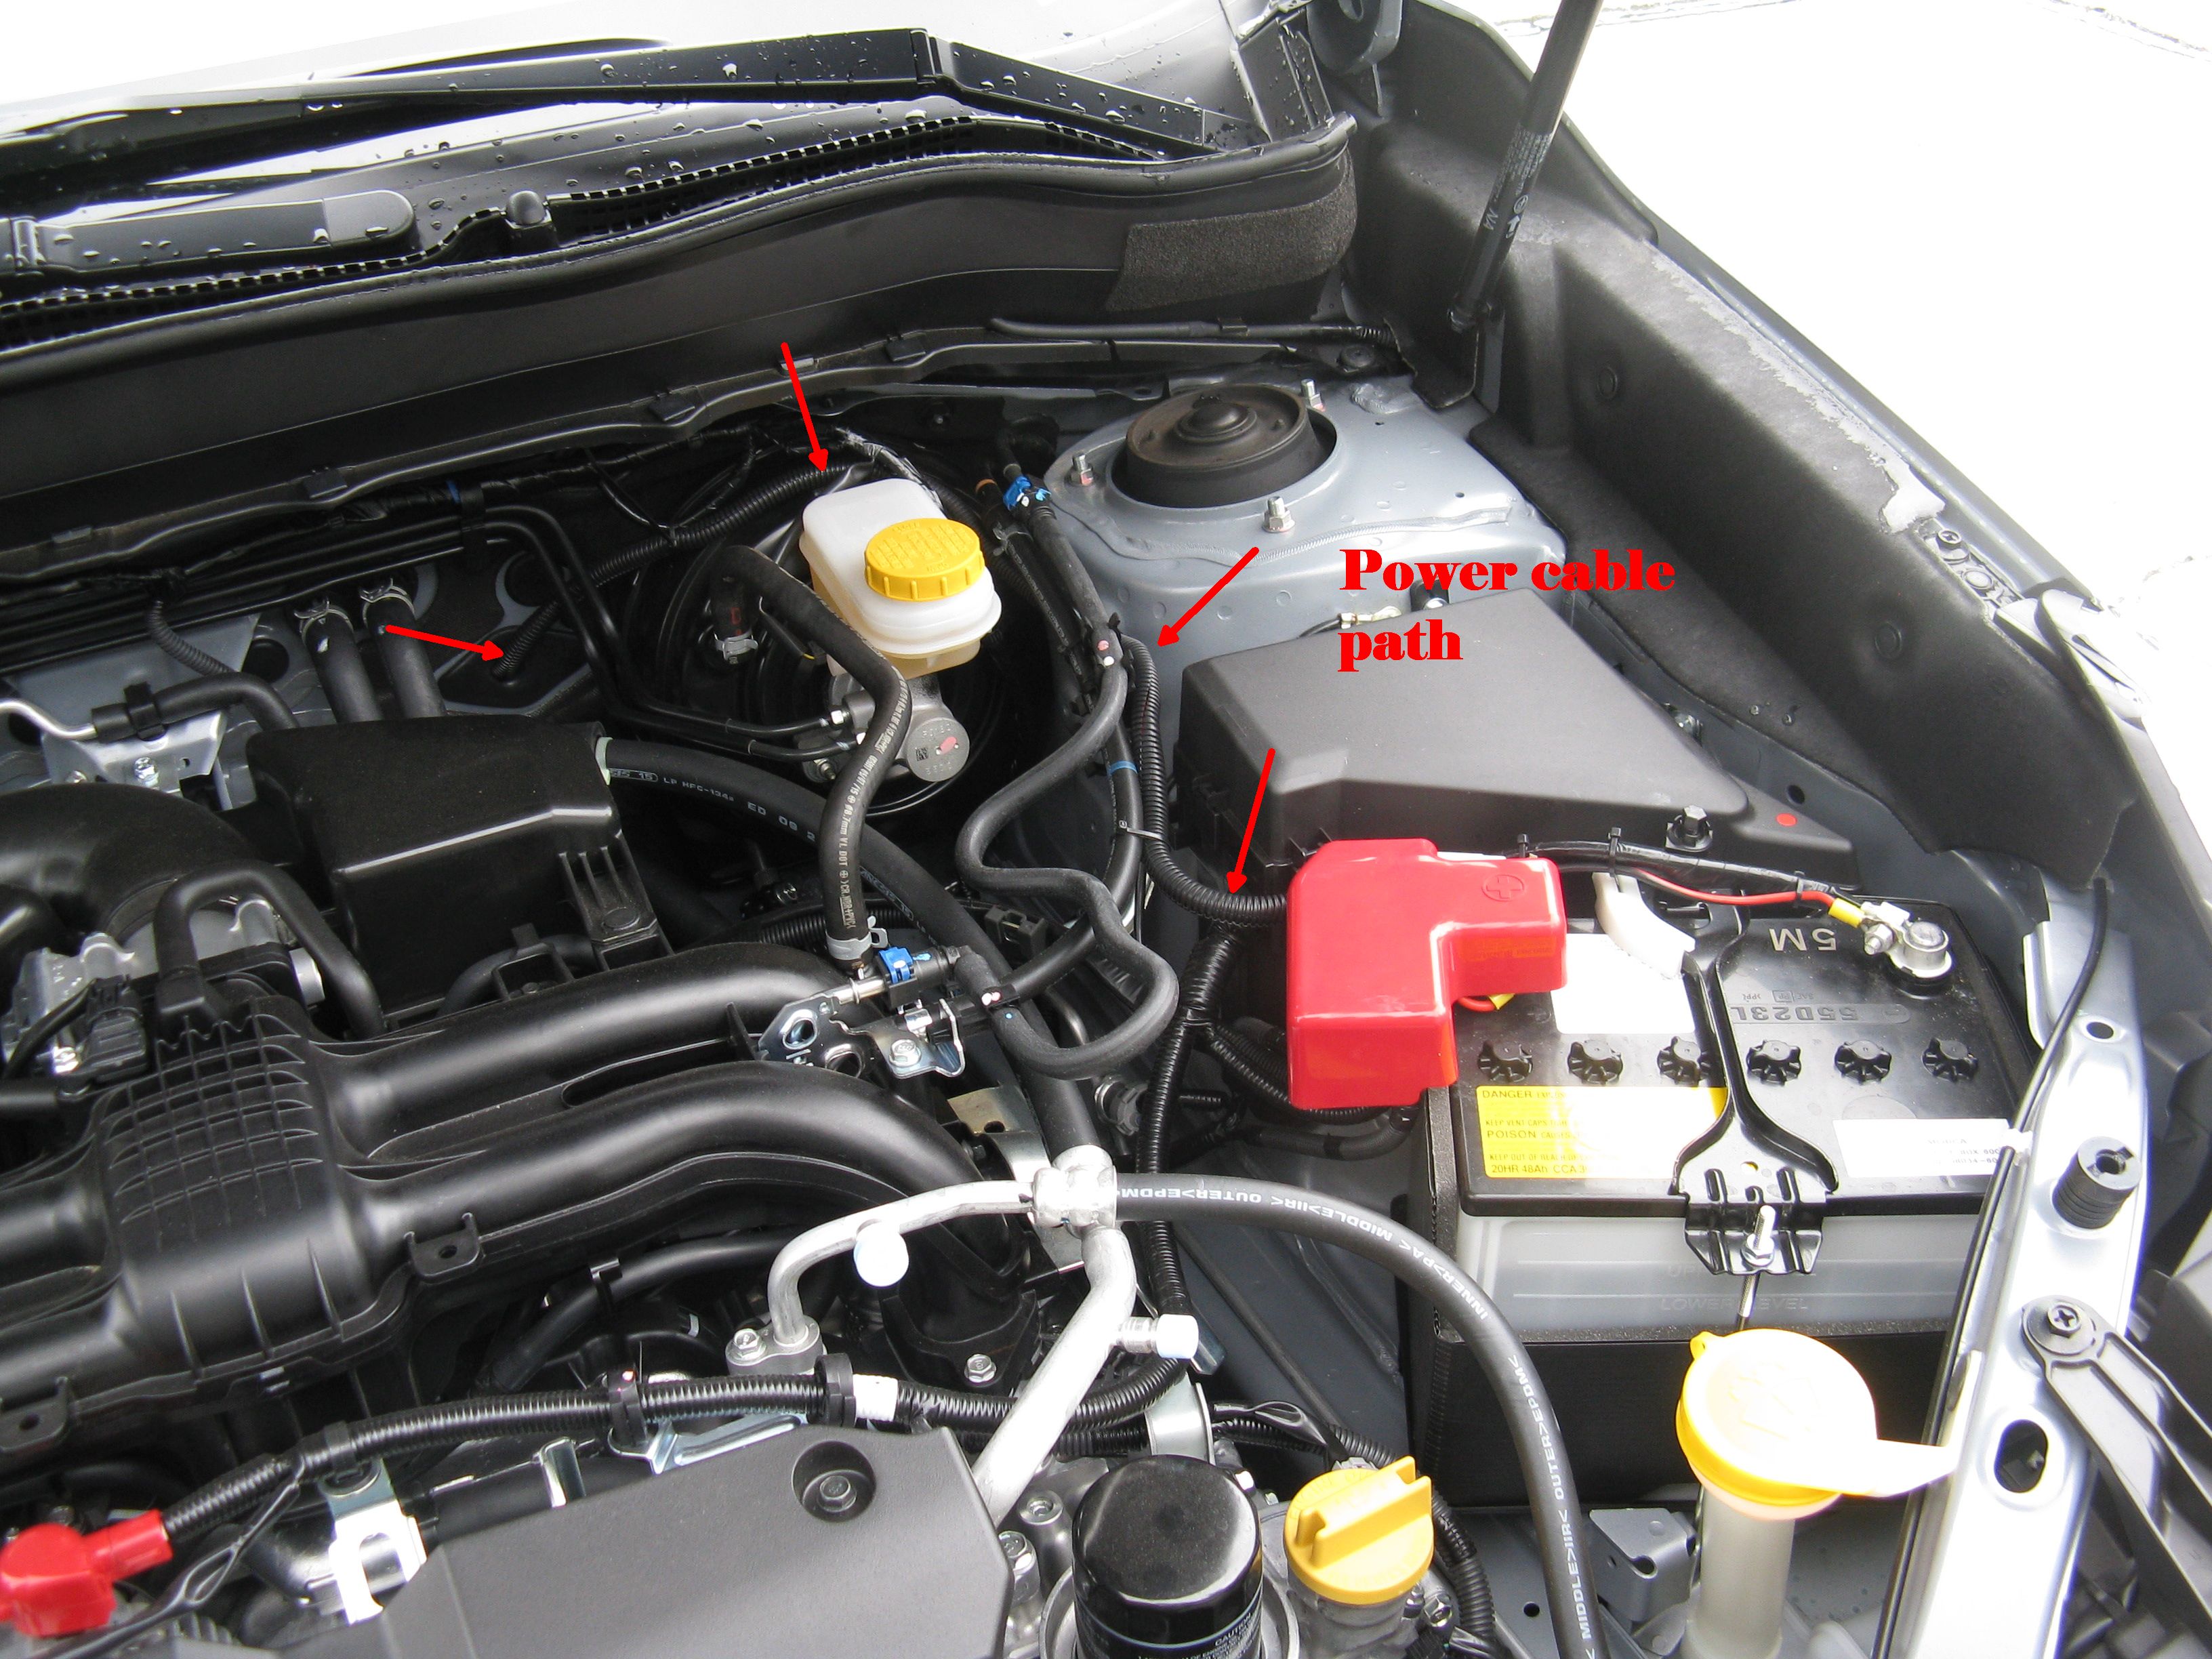
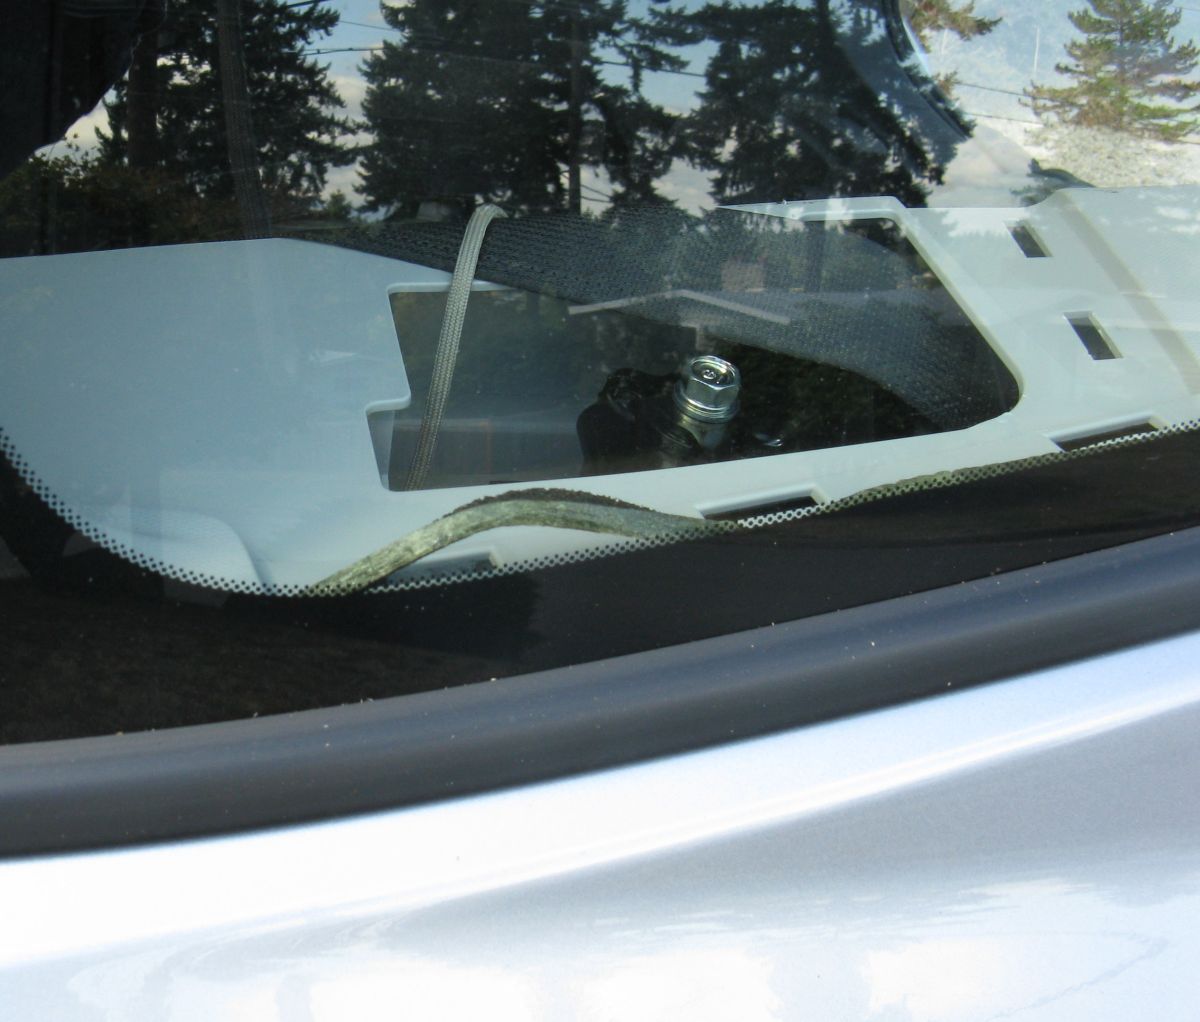
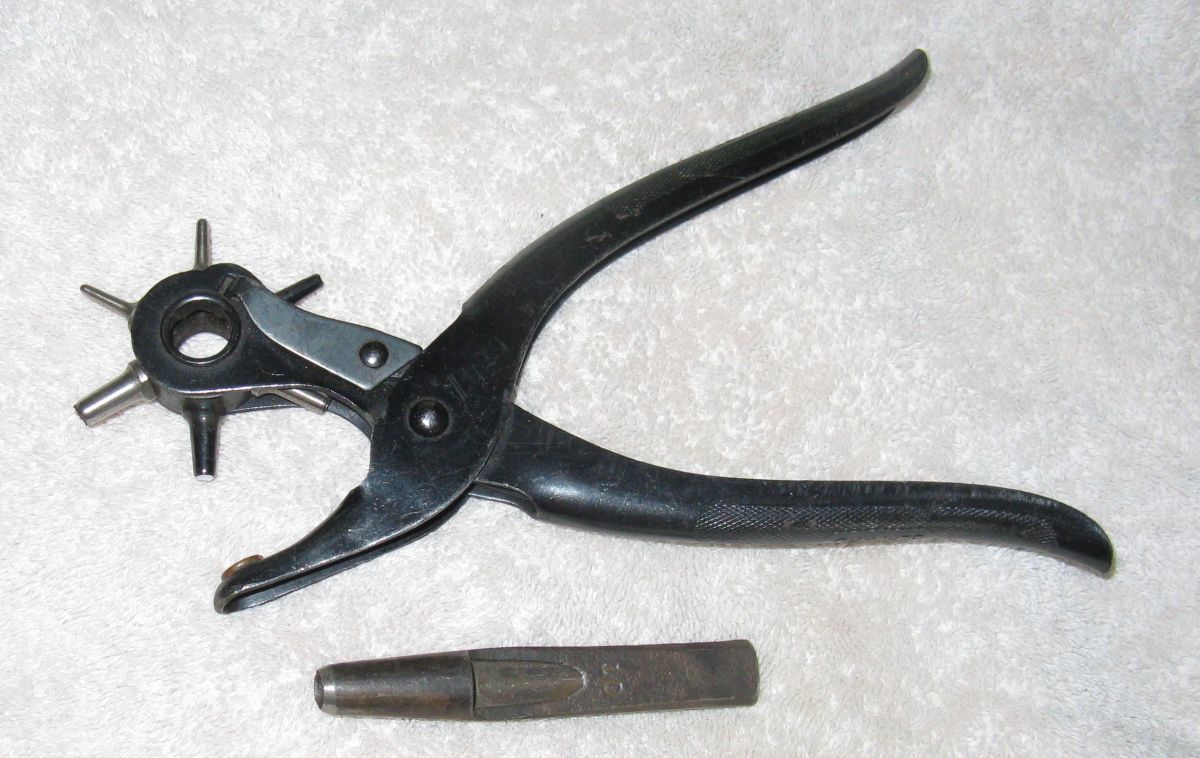
Hole punch.  I used a star leather punch to cut the holes in the firewall grommet for the power cable.  I punched a circle of 1/8" holes to match the diameter of the cable shield.
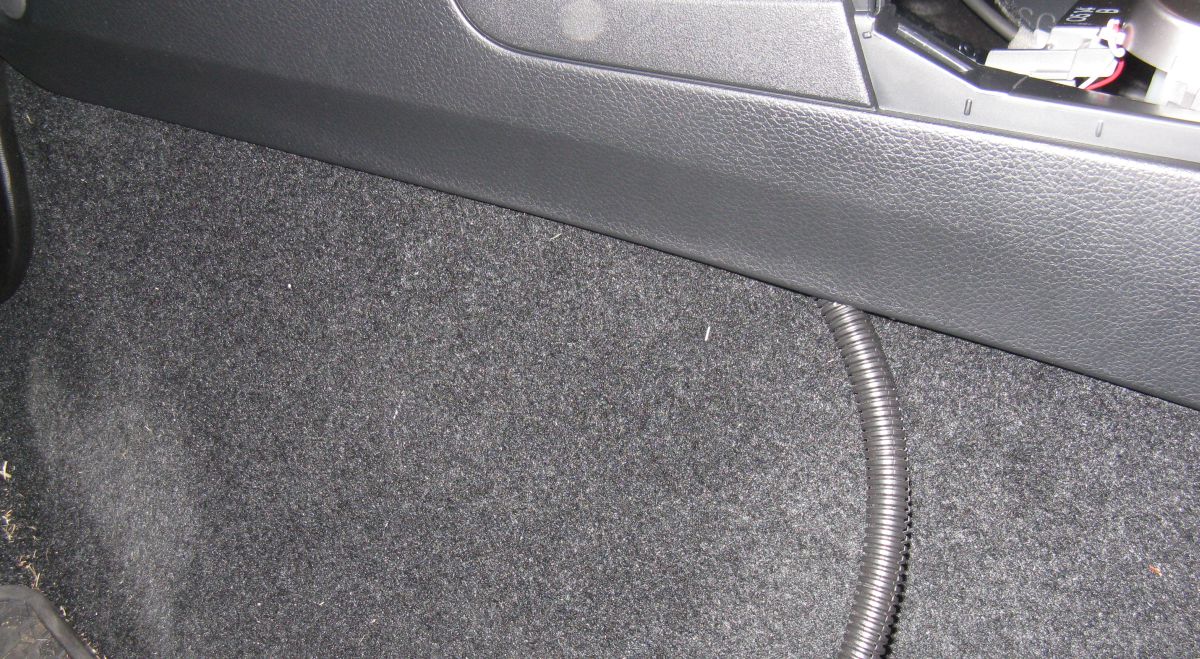
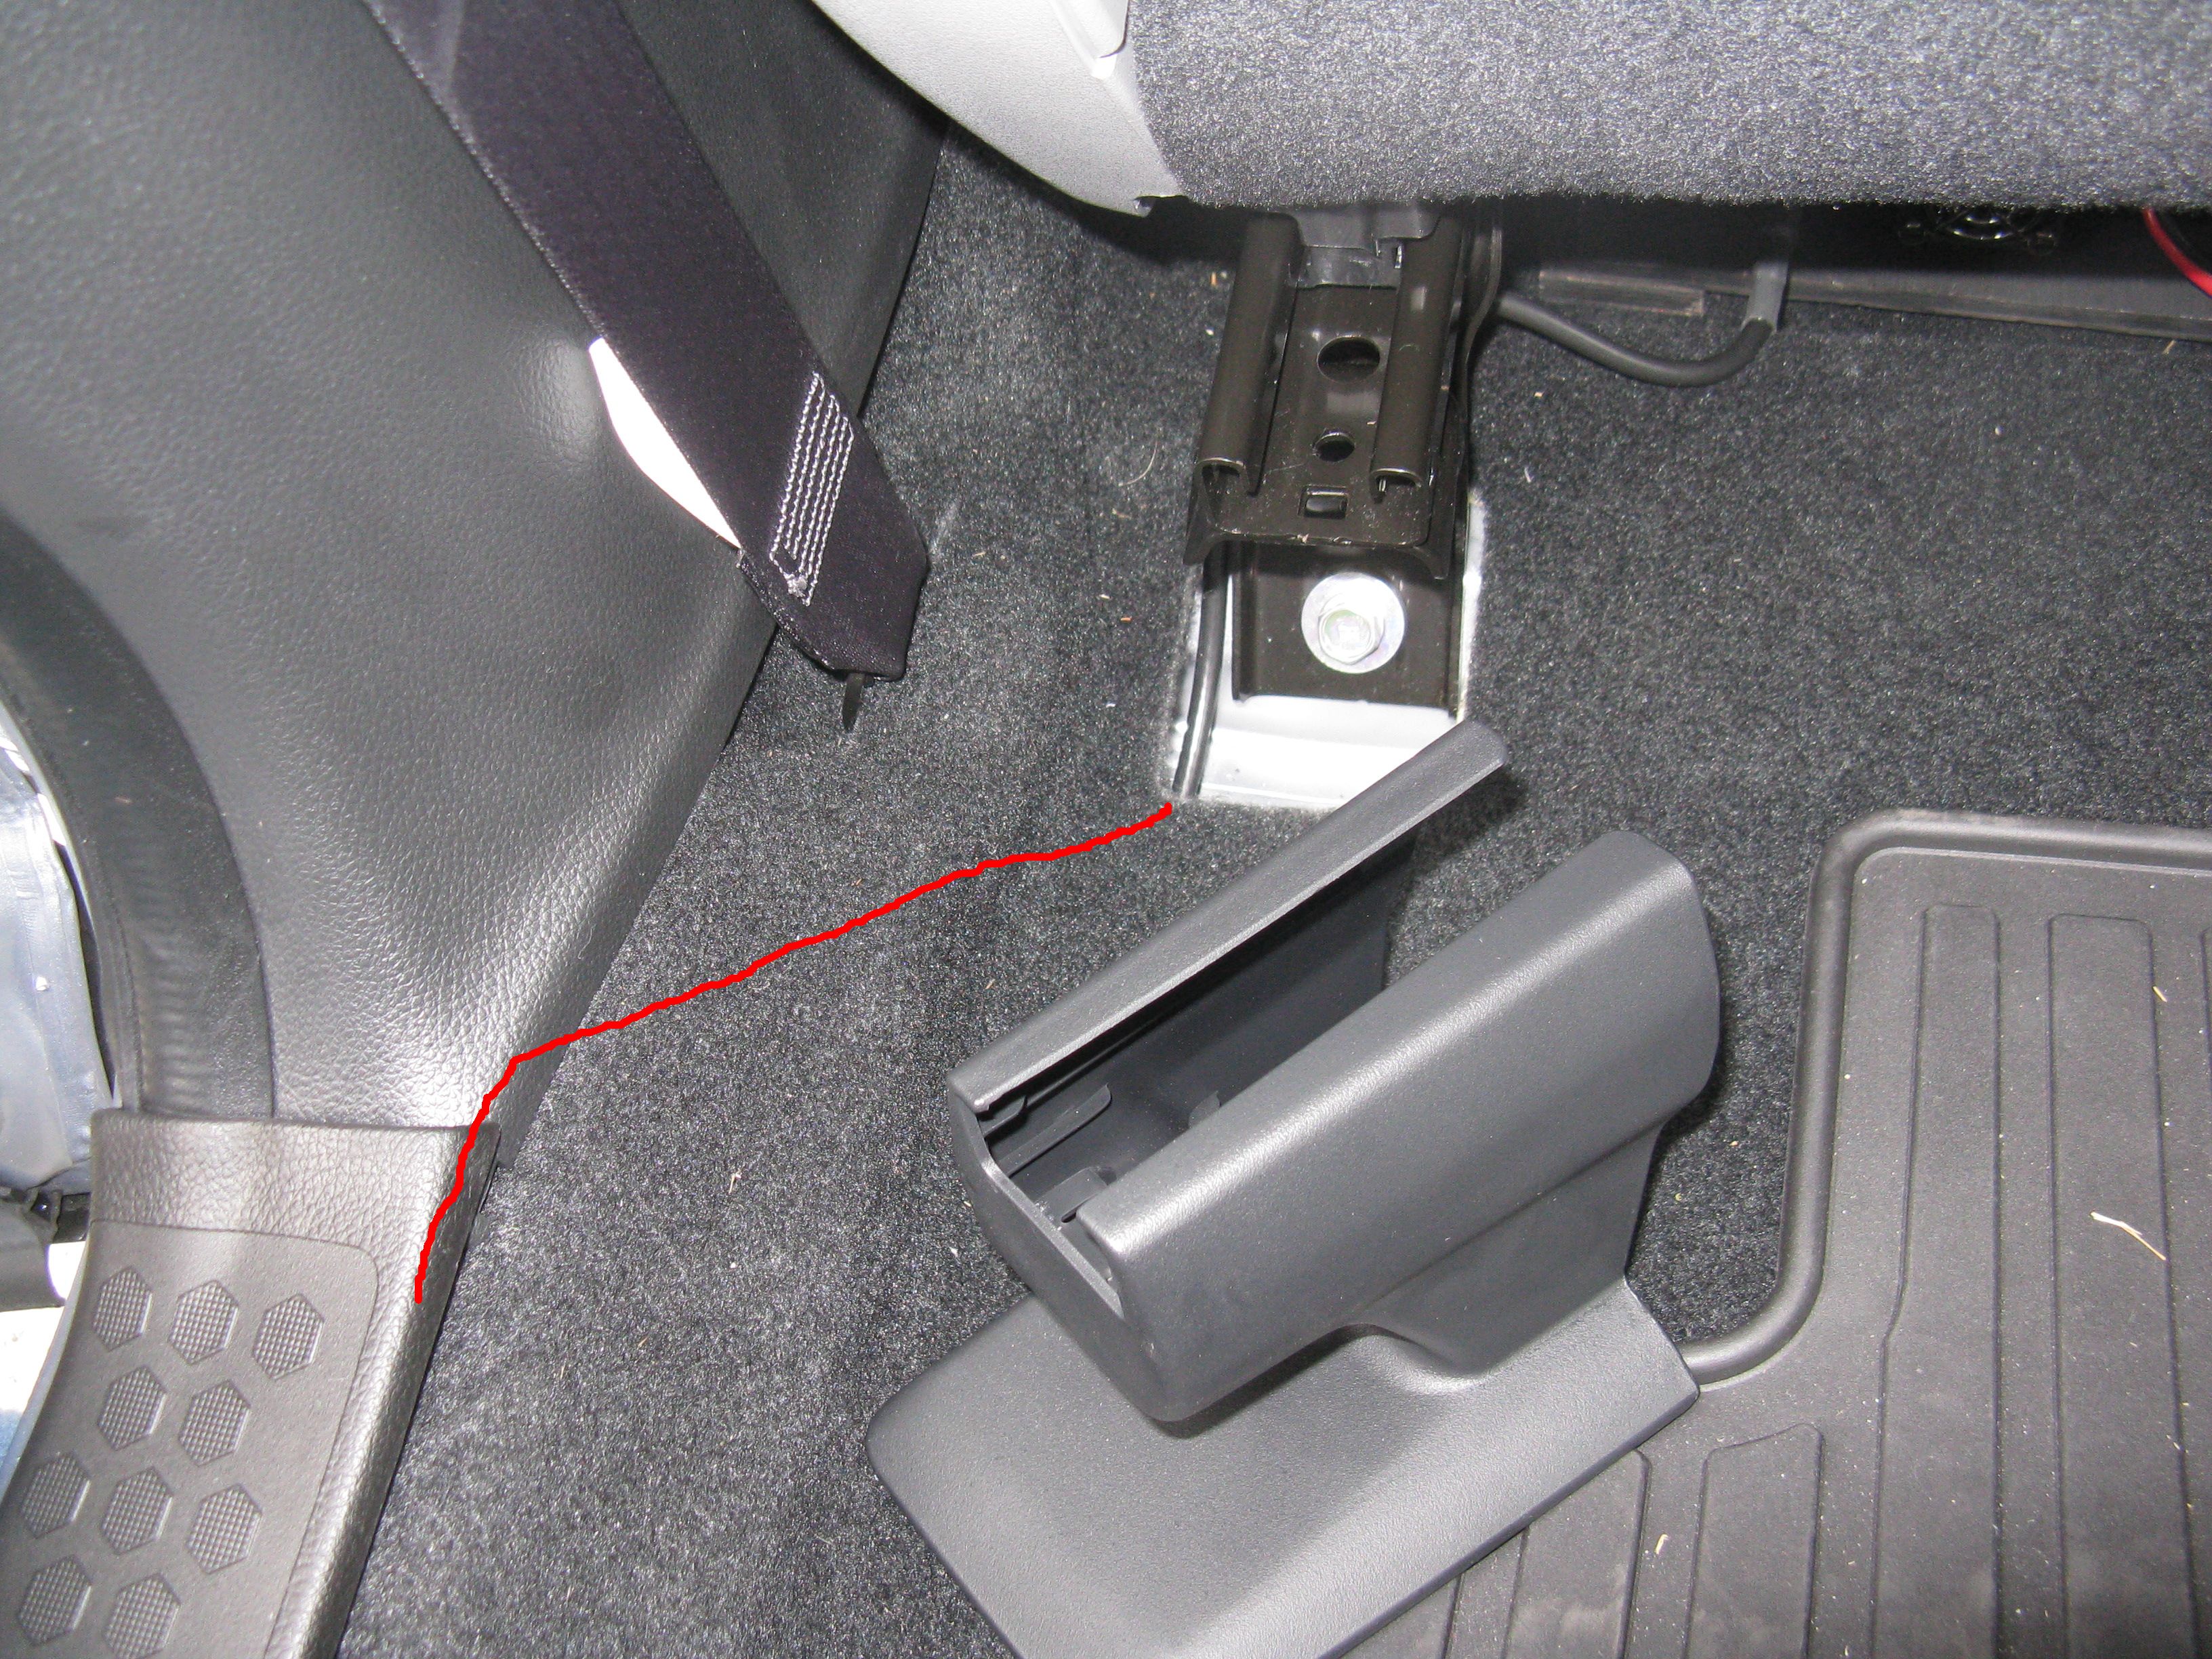
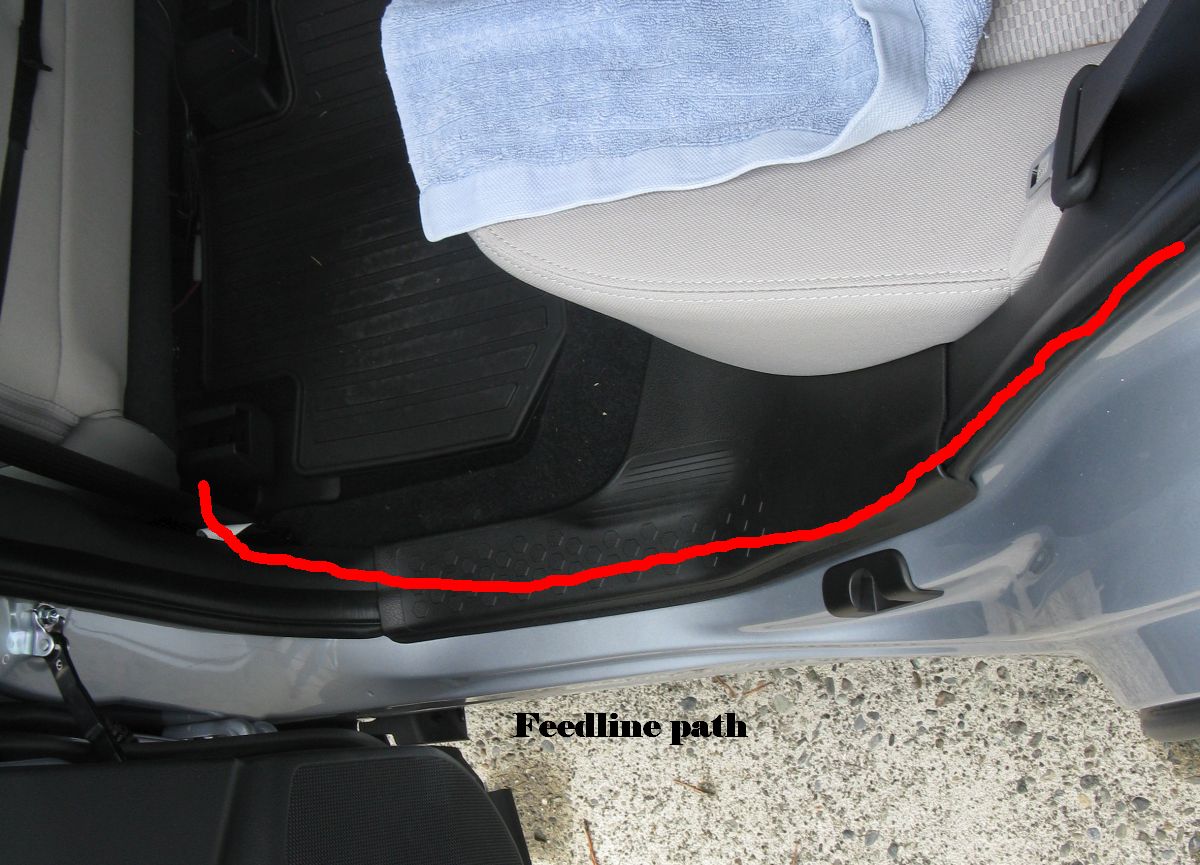
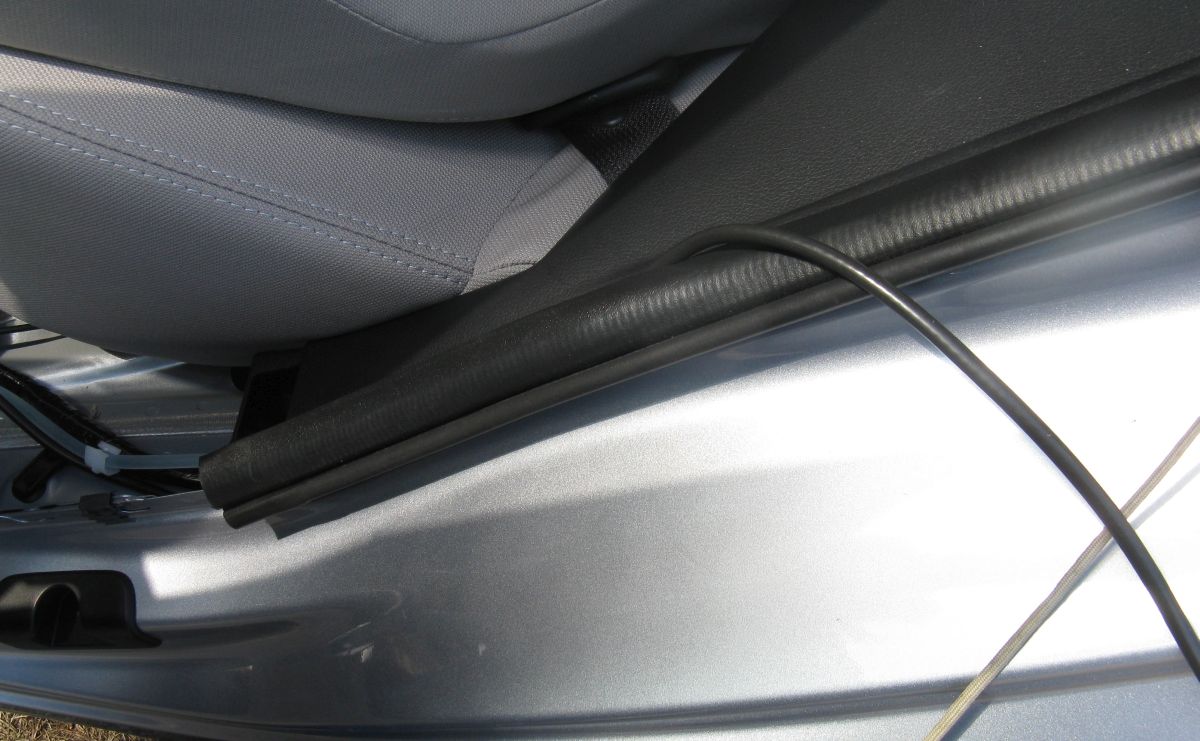
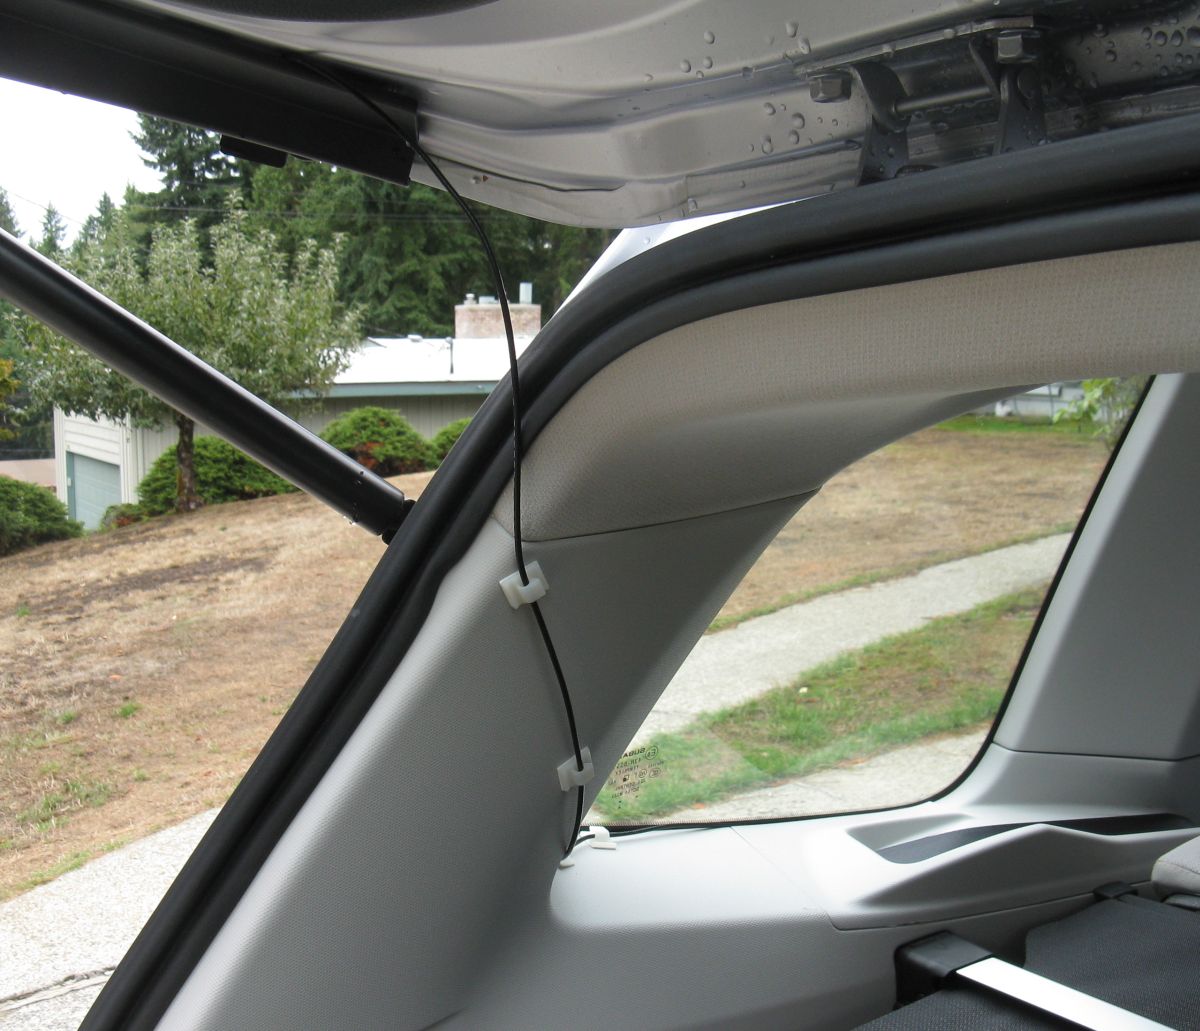
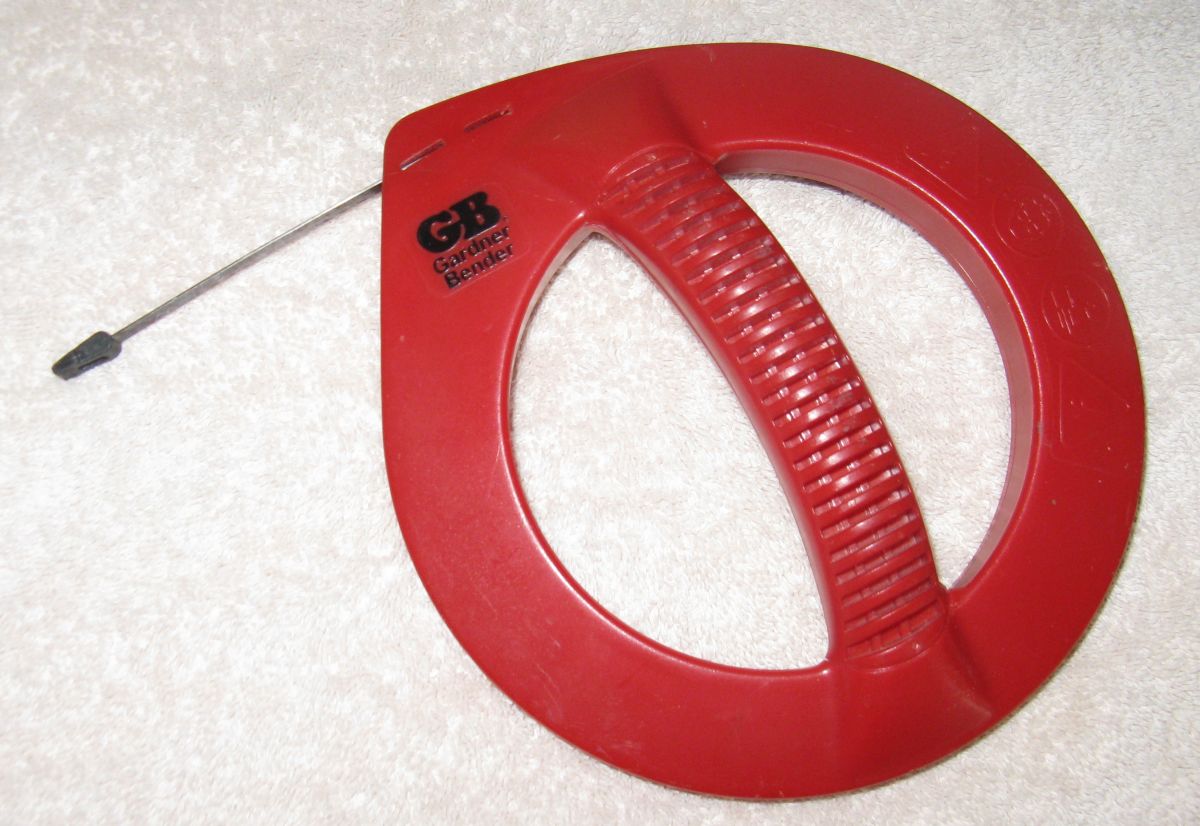
Electrician's fish.  This is used to get a pull line from the passenger seat area to the upper seatbelt cavity on the left side of the Forester.
Allen wrenches (Provided with Diamond K400)
SWR Bridge or antenna tester


Parts List

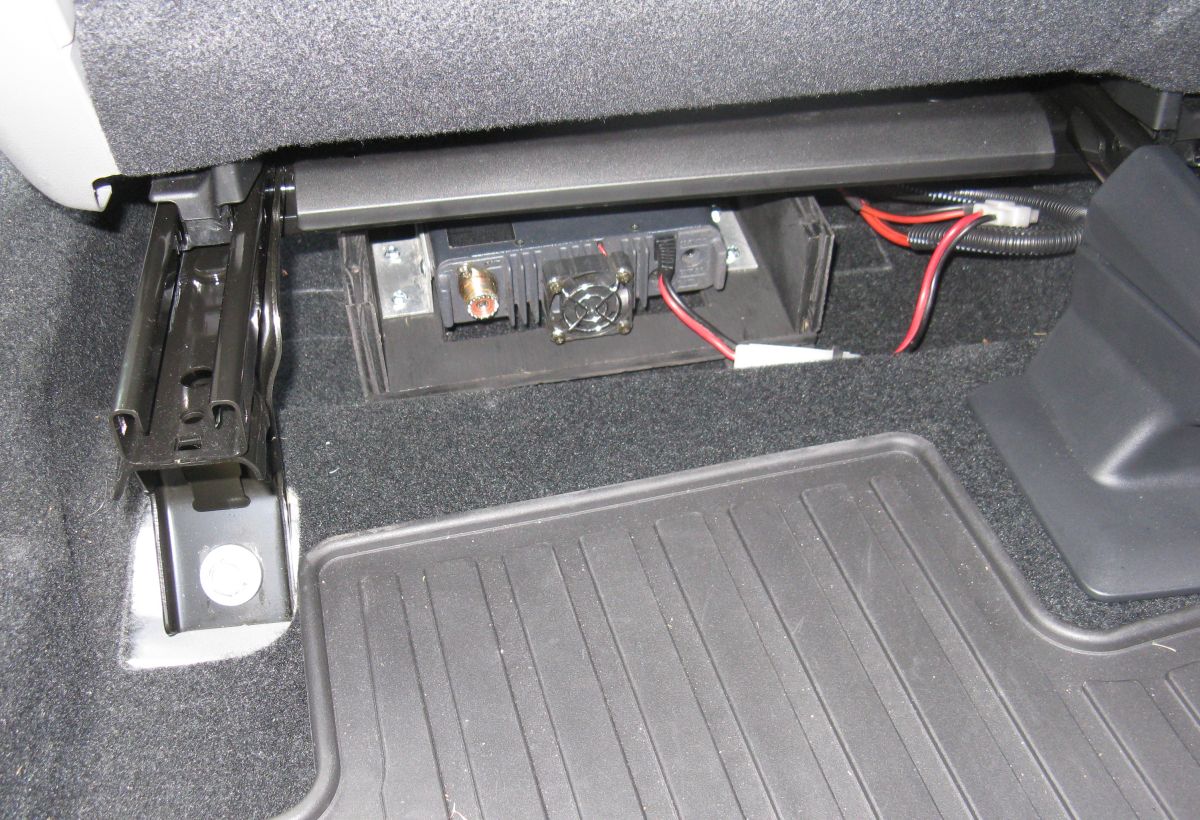
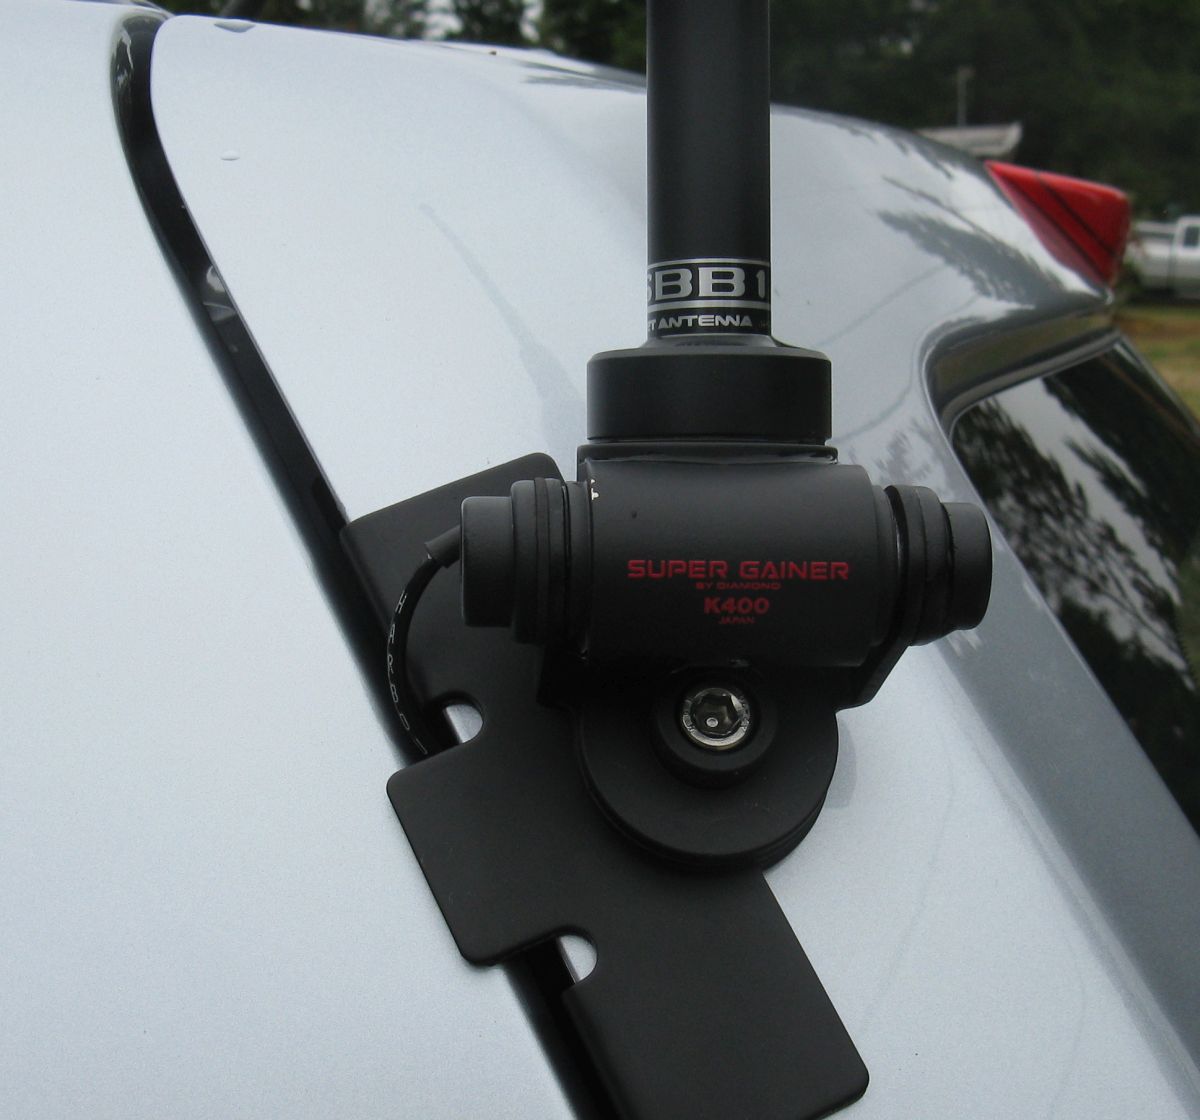
Diamond K400 heavy duty trunk lid/hatchback mount.    They are available in NMO, SO-239 and 3/4 x 24 thread with two cable lengths.  I already had a C110 cable so I bought the version with the shorter cable.

http://www.diamondantenna.net/k400.html

Comet SBB1NMO 146/446 antenna. 

http://www.cometantenna.com/amateur-radio/mobile-antennas/ma-dual-band/
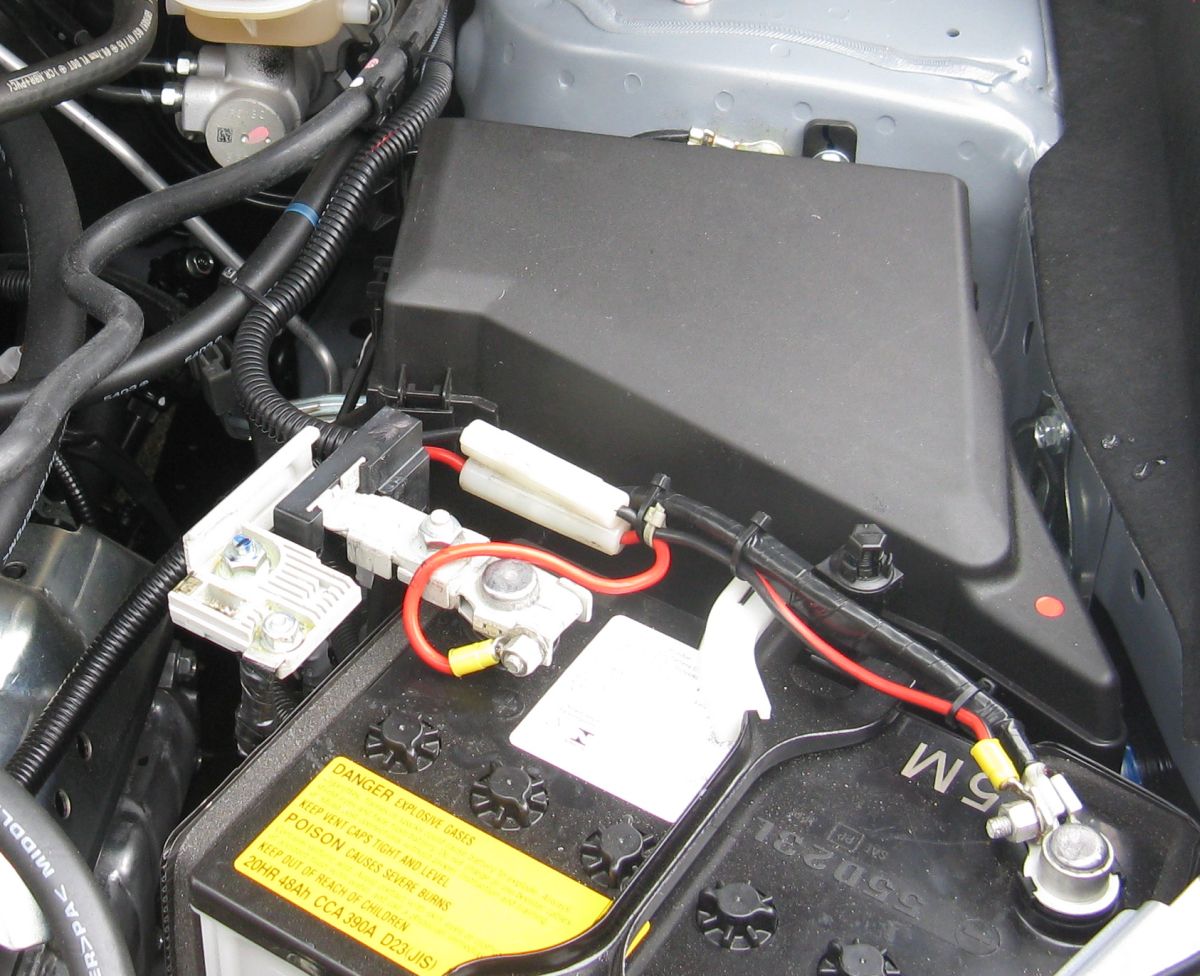
Penetrox A. 

https://www.tessco.com/products/displayProductInfo.do?sku=25478 .

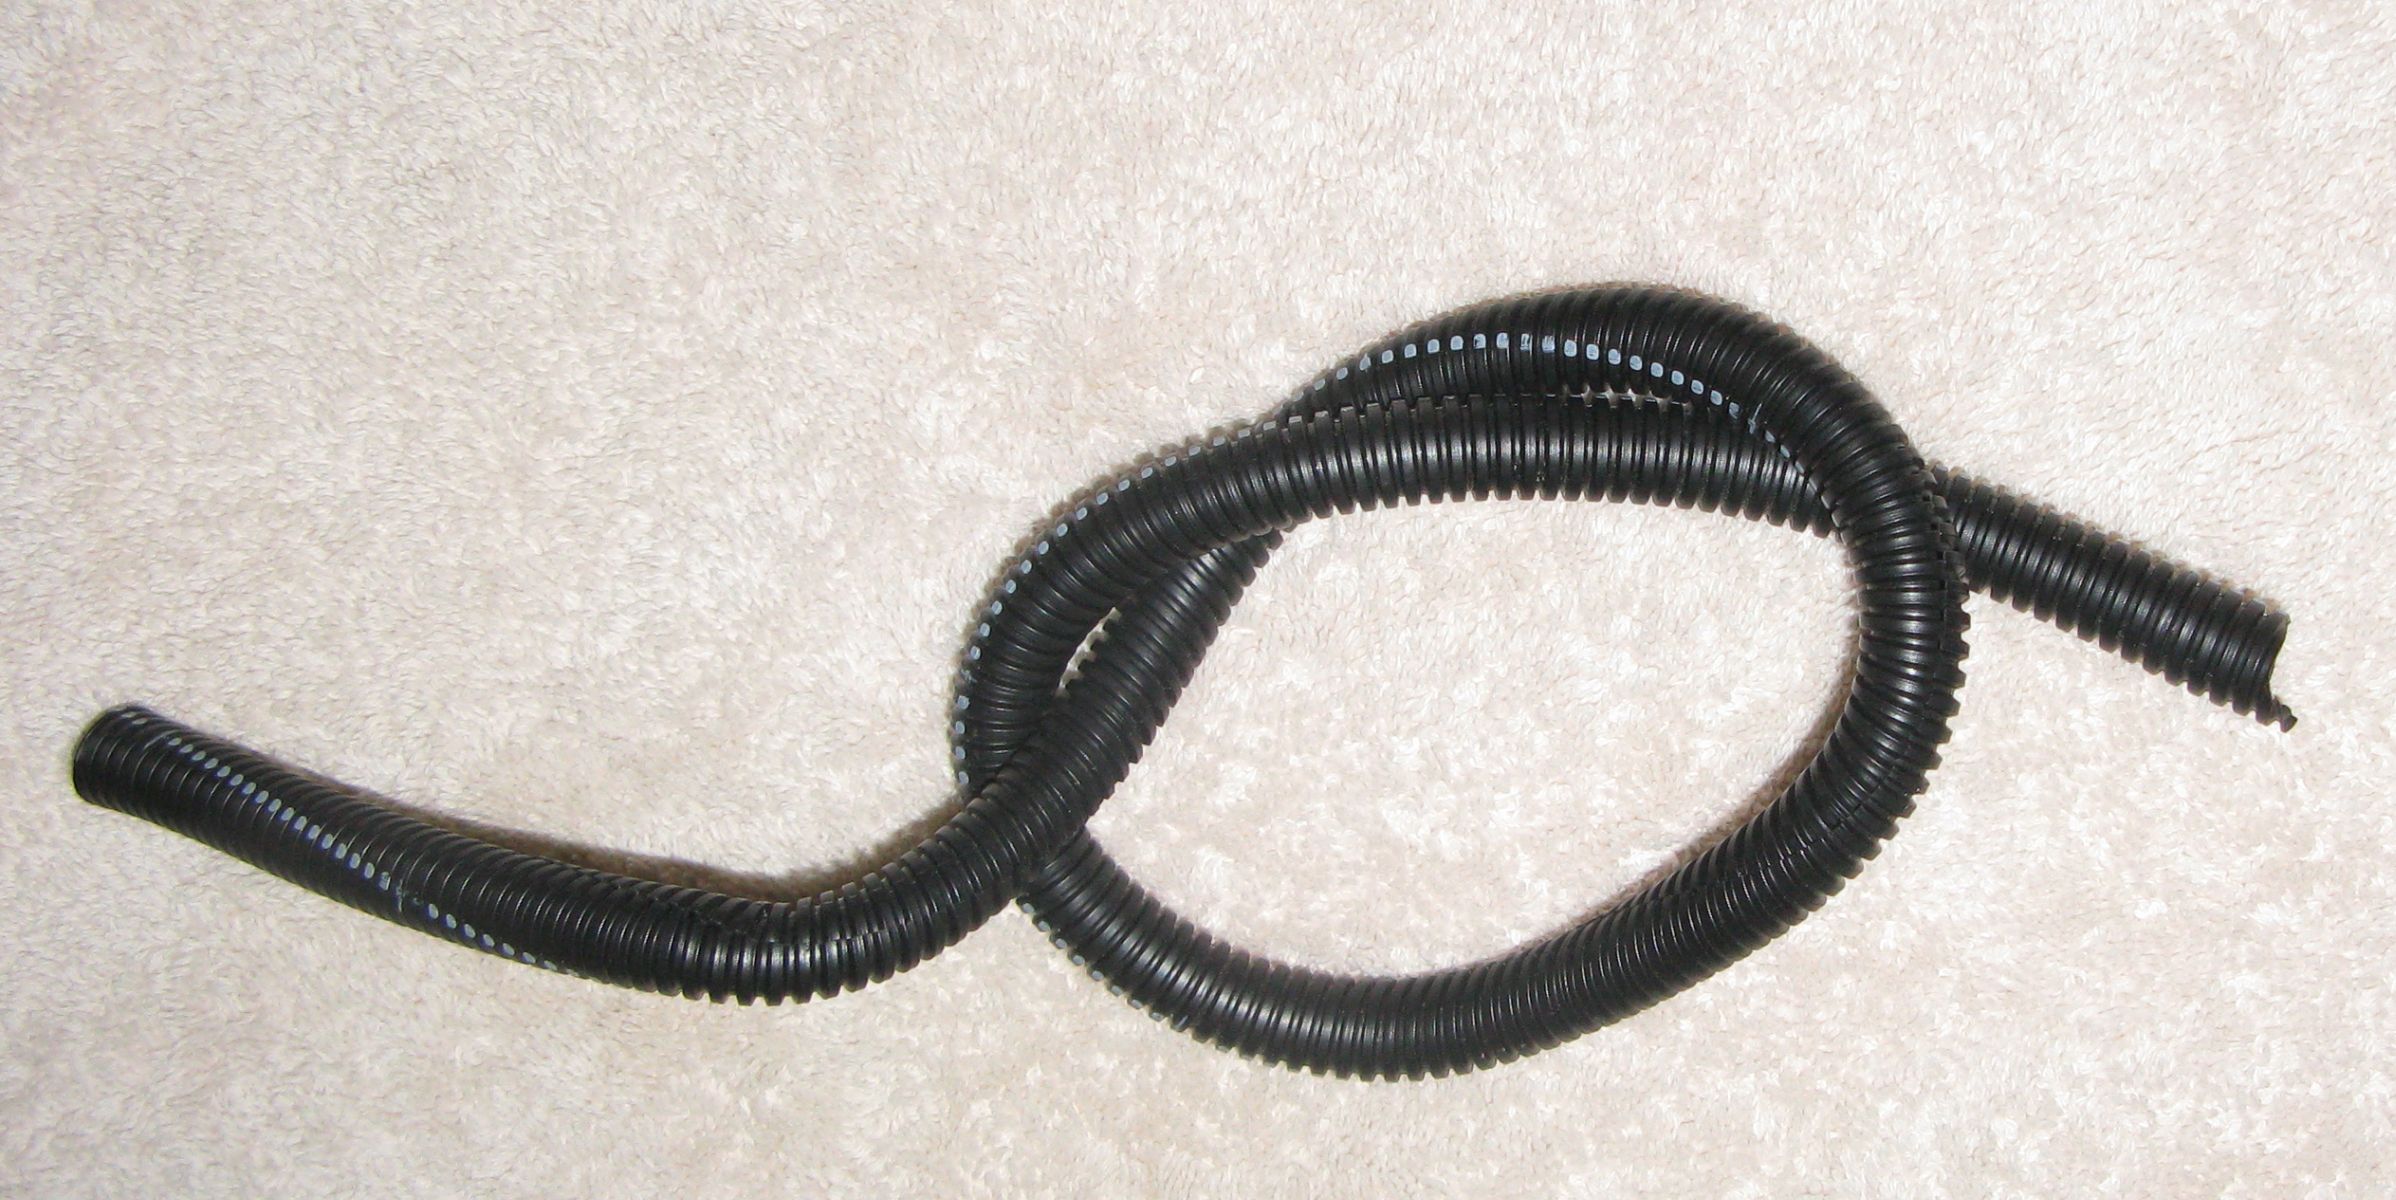
Wire protection sleeve. 

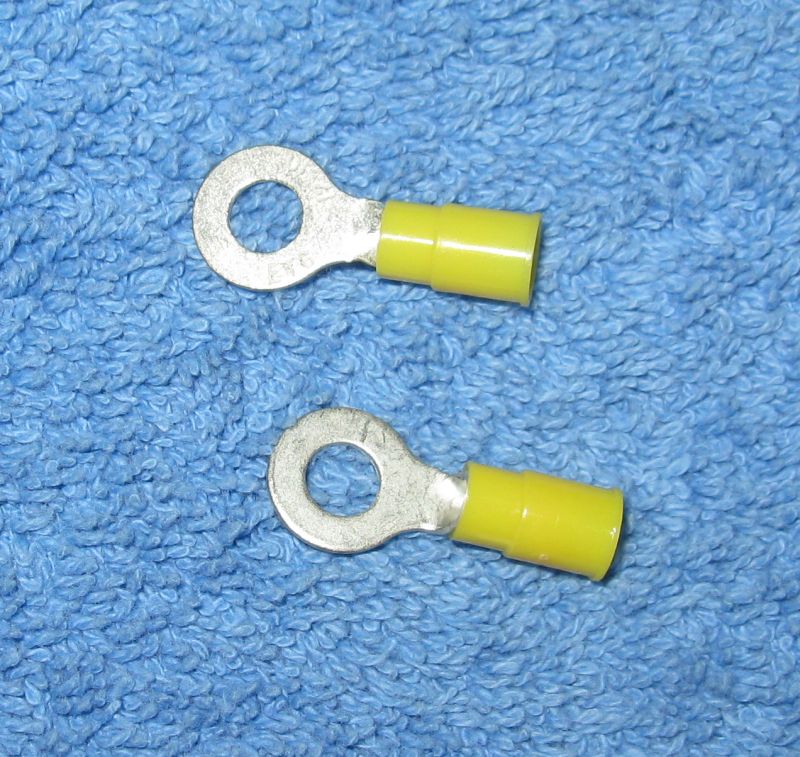
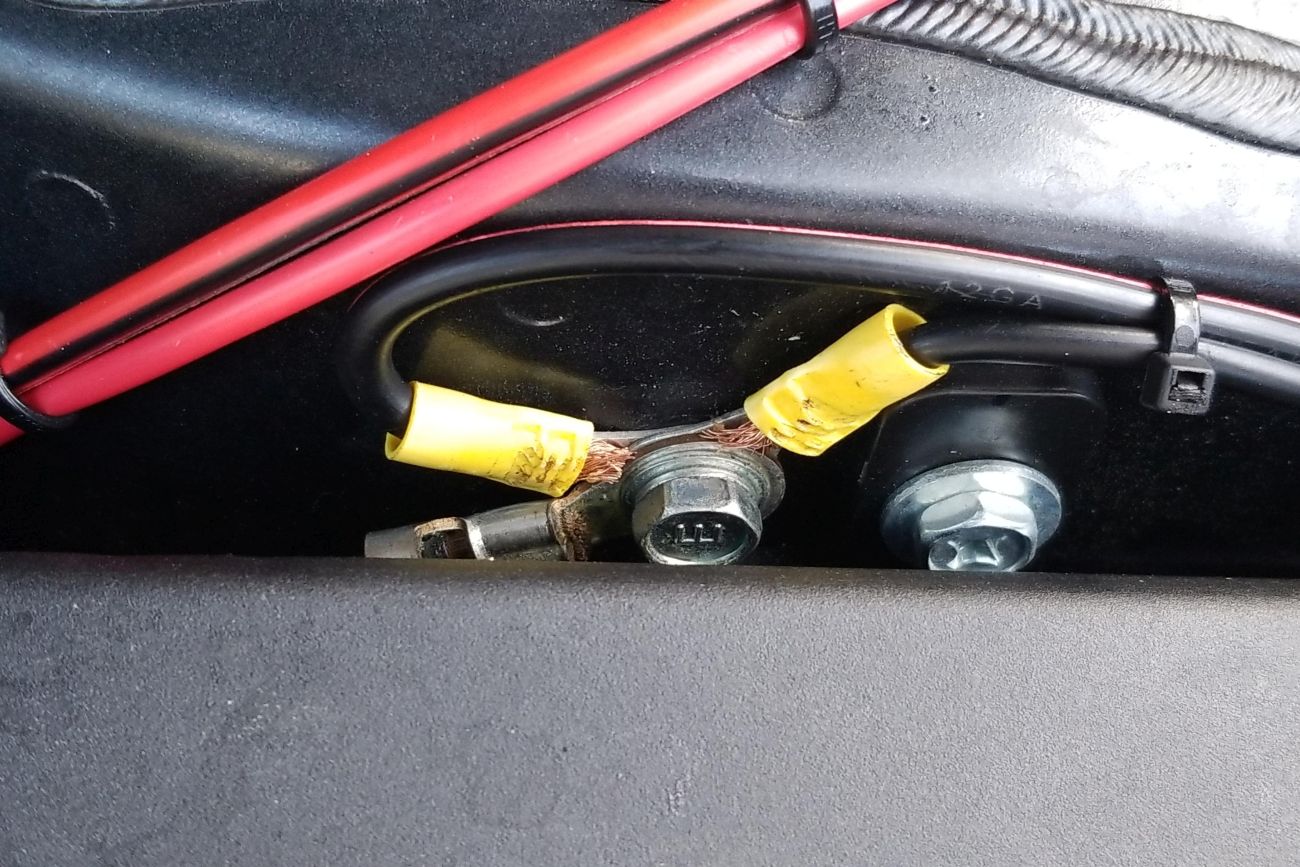
Two solder 1/4" solder eyes

PowerPole connectors


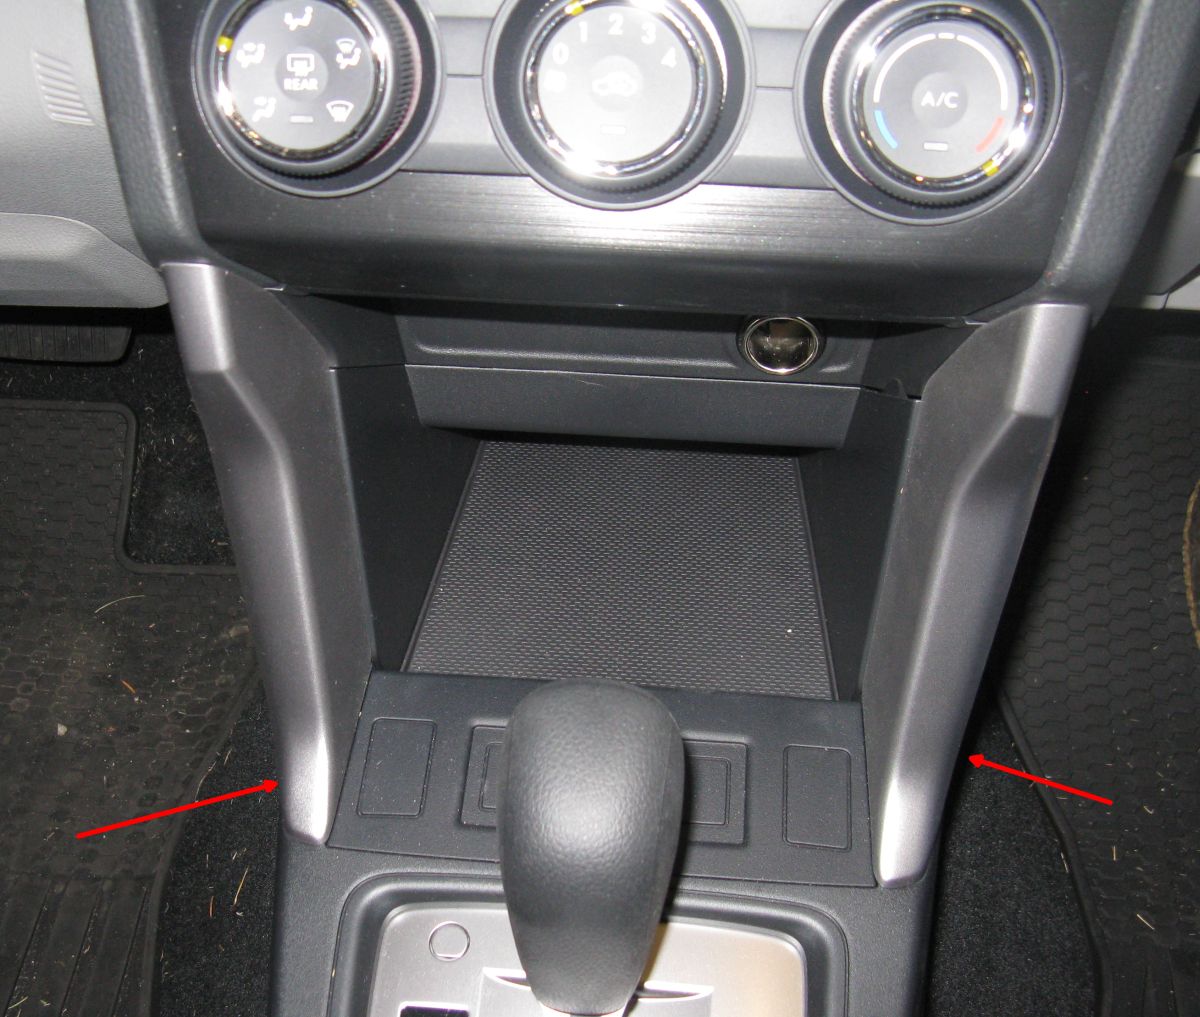
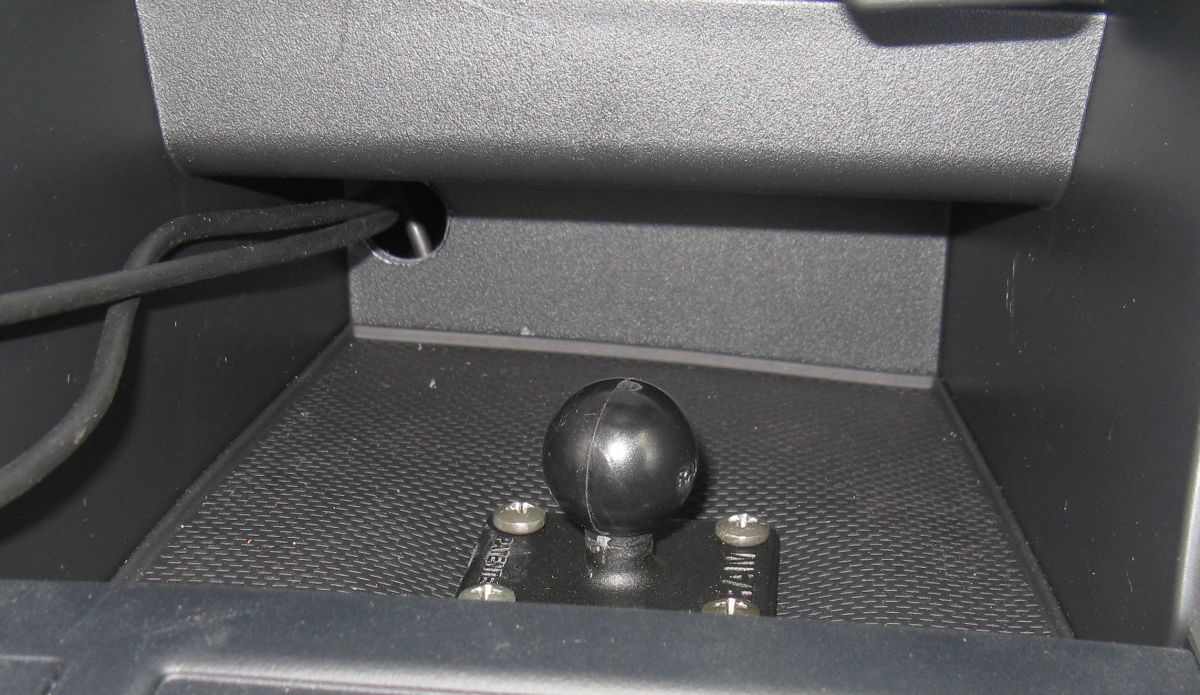
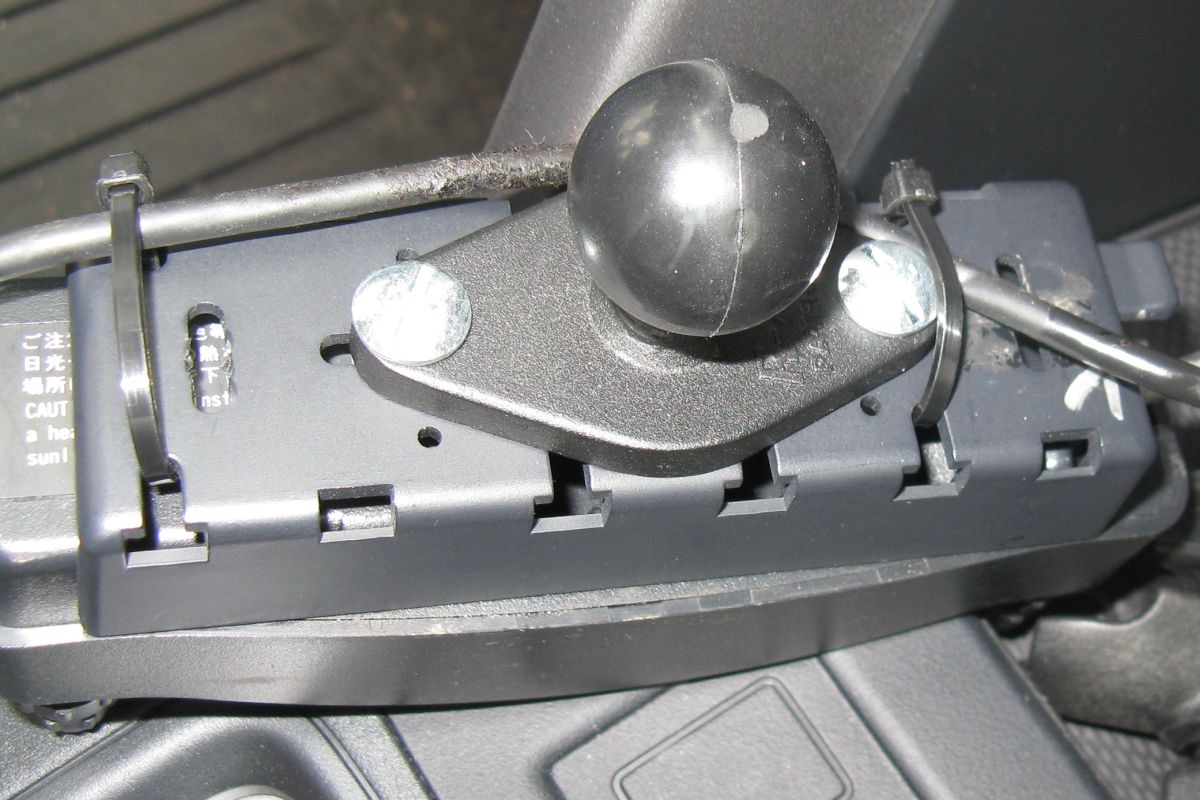
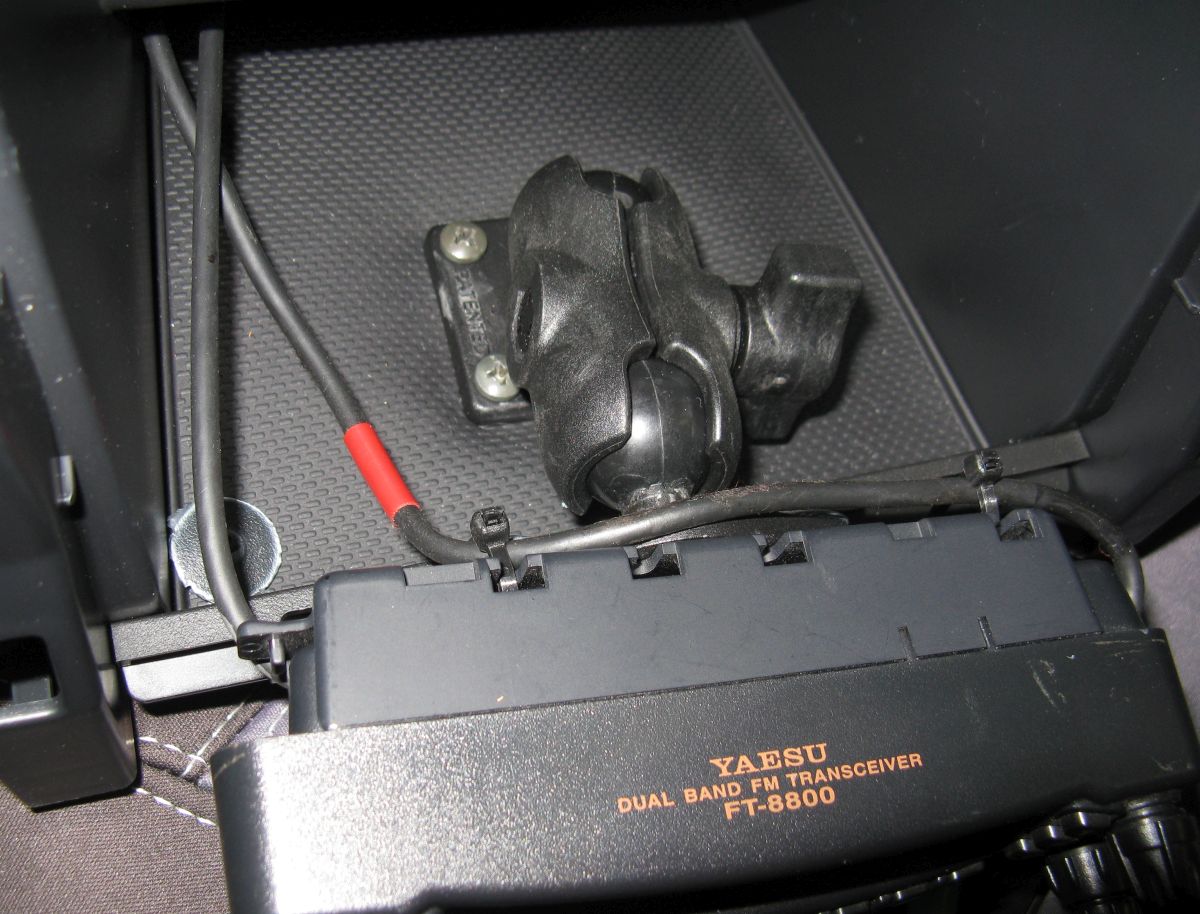
Ram mount, 1"  with square and diamond shape bases. 

http://www.rammount.com/part/RAM-B-201U

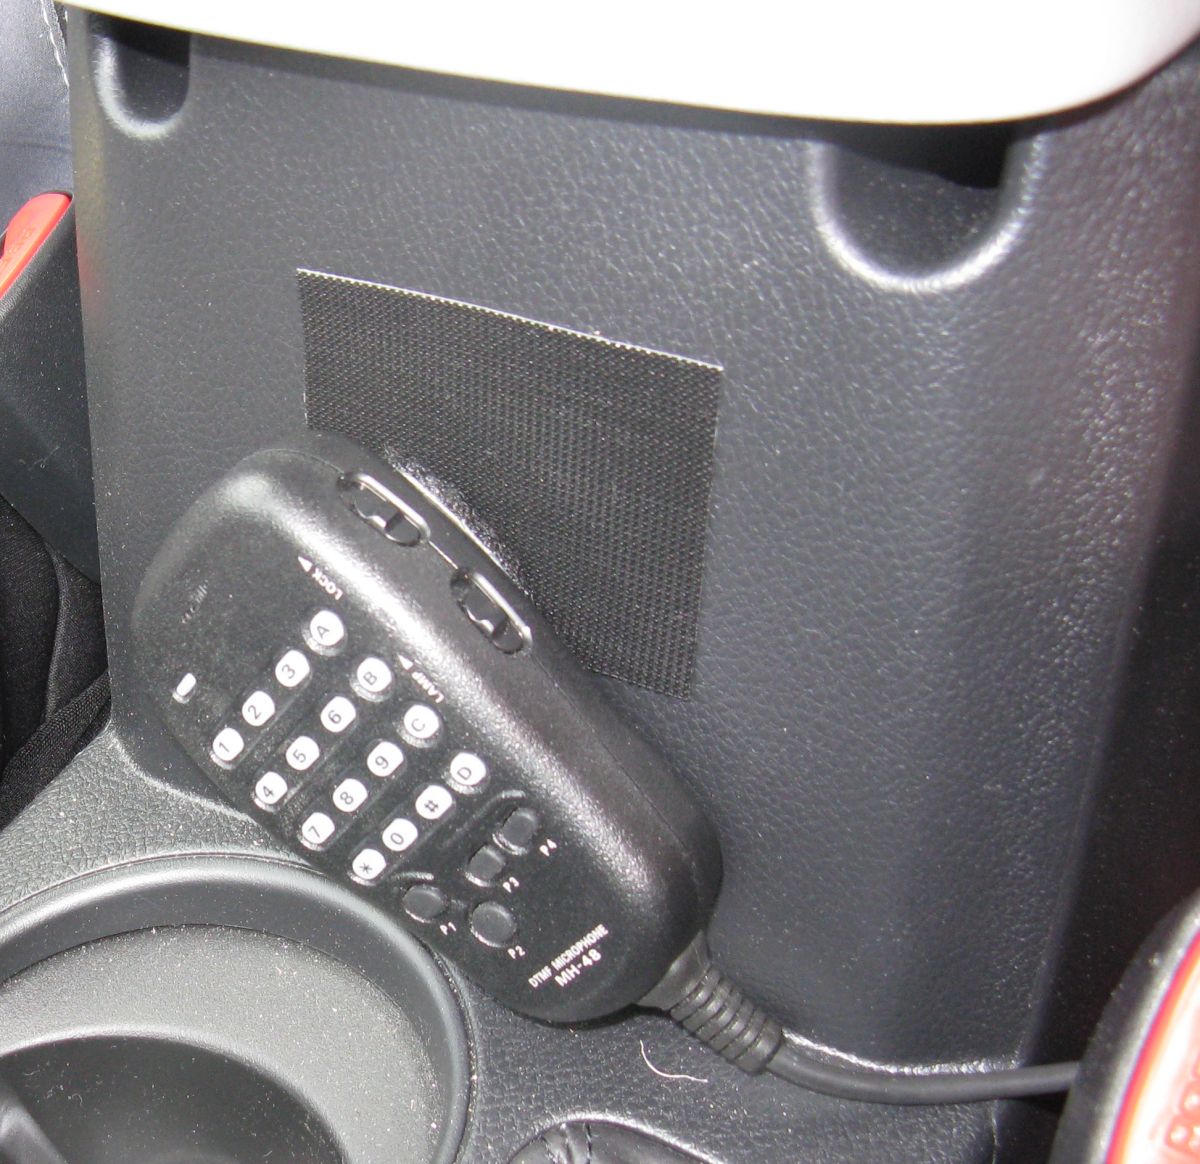
Velcro with adhesive back


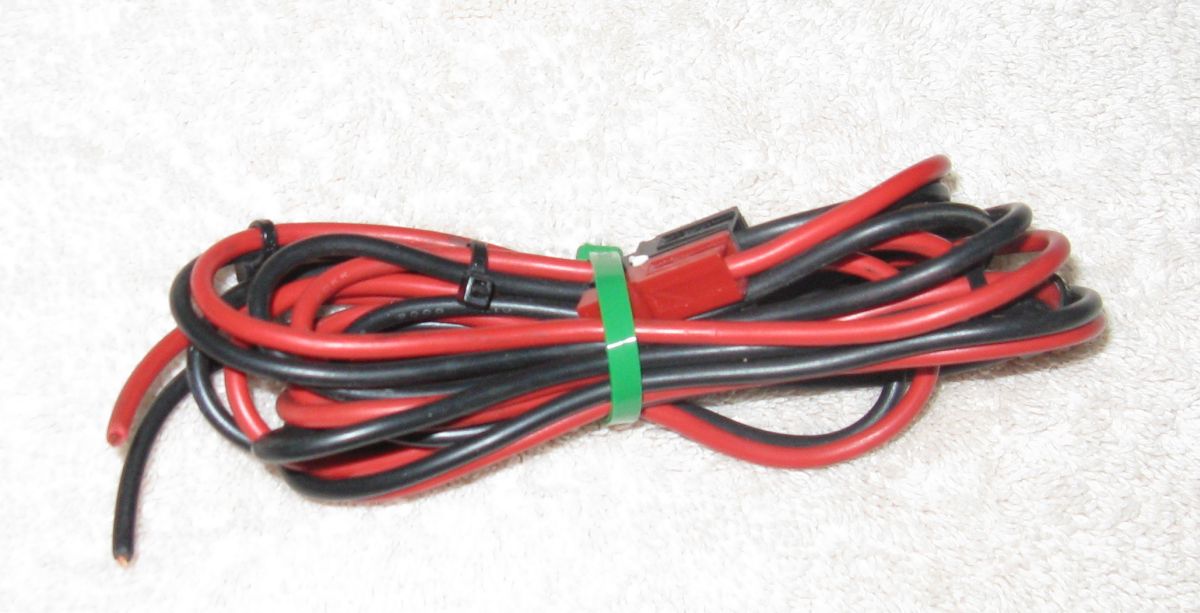
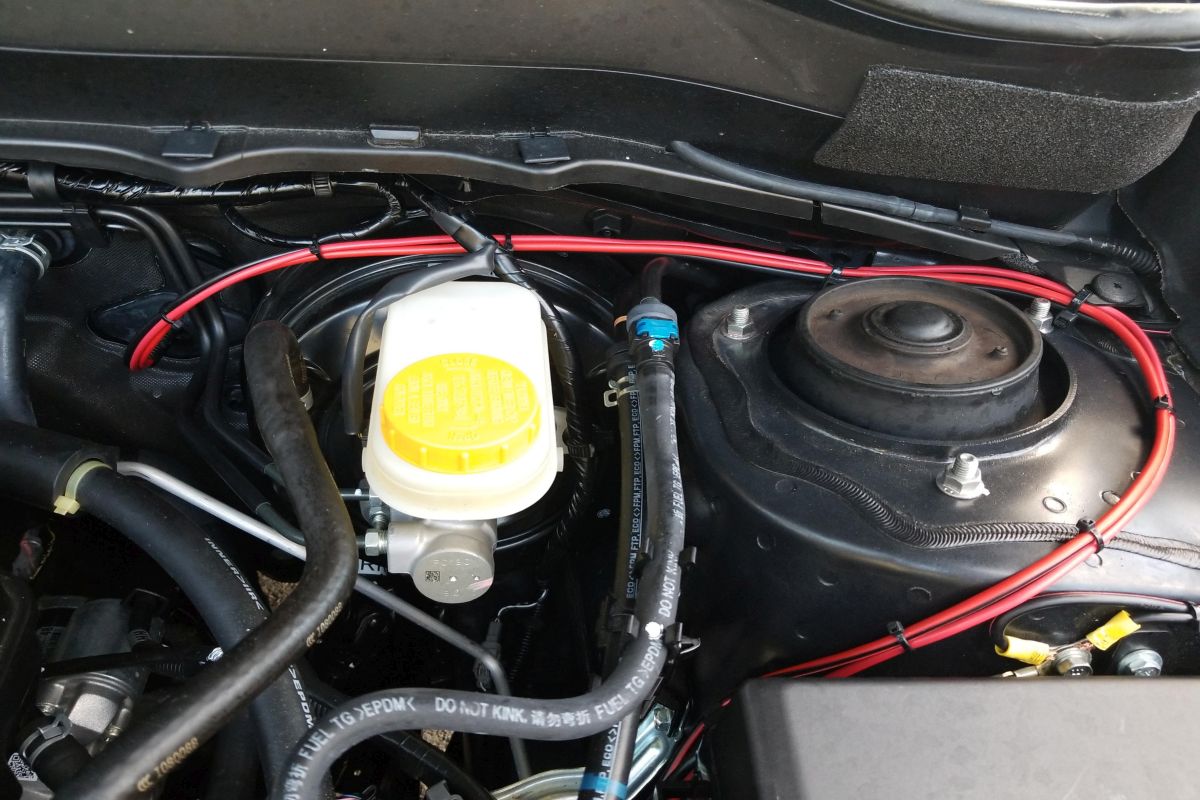
12 gauge two color zip cord


Installation

1. First install the power cable. Locate and remove the large grommet from the firewall and use a hole punch or gasket punch to cut a hole in it. Cover the power cable with wire protector and thread about five feet of it through the hole in the grommet into the space under the dash above the gas pedal. Install the grommet.   Route the wire to the battery.  Install the solder eyes on the wire and tape them back for connection later.  You don't want to be working on hot wires! 
2. Route the power cable to the lower edge of the console on the driver's side near the gearshift and then to the space under the driver's seat.  Secure it so it will not interfere with the gas or brake pedals.   The cable will fit neatly up under the console edge where it meets the carpet - see the first photo. Gently pull the edge back and tuck it in.

Install PowerPole connectors on the end under the seat. Connect the solder eyes to the battery and CHECK THE POLARITY WITH A VOM OR POLARITY TESTER!  Note that both leads are fused near the battery.  Secure the power cable with wire ties.

3. Remove the two trim pieces on each side of the little storage cubby below the heater controls by pulling gently on the bottom side of each one.  Set the parking brake and put the transmission into drive to get room to remove the storage cubby.  Gently pry around the bottom edges of the cubby until you trip one of the latches that secure it.  Trip the rest of the latches by manipulating the cubby until it can be removed.

4. Drill a 1/2" hole in the back of the cubby for the microphone and control wires.  Install the square base of the Ram Mount base by drilling four holes in the bottom of the cubby. Bolt the base in, using washers on the underside.
 
5 Run one end of both wires along the same route you used to install the power cable to the right of the driver's seat. Be sure to leave a bit of slack in the cubby. Color code each end of both wires with colored tape so you will know which inserts into the microphone jack and which goes into the control cable jack.  
6 Coil excess microphone and control cable and tuck it into the space behind the cubby.  Reinstall the cubby and trim.  Connect the remote head to the diamond shaped Ram Mount base and install the connector arm.  Attach a double ended connector to the microphone cable and install the microphone.  I like to use Velcro to secure the microphone when it is not in use.  I put the soft side on the back of the microphone and the other side on the mounting point. This makes it easy to locate and you don't have to take your eyes off the road to secure the microphone.

7.  I built an open box to mount the main radio unit in and painted it flat black so it is unobtrusive.  The radio fits in the box on the mobile mount.  The box keeps the radio off the carpet and ensures that air can reach the heat sink.  There is a depression under the seat that holds the base unit nicely.   Install the unit in this space from the front, working it around the seat adjustment arm.  Connect the control cable and power cable to the radio unit.
8 Remove the plastic cover from behind the driver's side seat rail by gently pulling straight back on it to release the clips.  Remove the left side plastic sill plate from below the passenger door.  The first photo shows the route of the antenna cable under the carpet to the sill.  The second photo shows the route along the sill under the cover.

9 Remove the seat belt trim piece with the tape covered scraper.  Push the fish tape up into the opening near the upper end of the seat belt from the sill end.  Pull a piece of nylon cord back into the seat belt upper space to use as a pull line.  Pull the end of the feedline into this space and tuck the feedline in behind the rubber trim by the side of the seat.  Replace the sill cover.

10.  Install the antenna mount.  Follow the instructions to ensure that you have a good ground.  I test fitted the mount which left tiny dents in the hatch lid.  I used a Moto-tool to take the paint out of the divots and then applied a dab of Penetrox A to ensure continuity and prevent corrosion.
11. Route the cable to the end of the feedline cable and connect them.  Reinstall the seat belt cover trim.


12.  Test the SWR on the antenna with a SWR bridge or antenna analyzer.  Connect the feedline to the radio and you are done!  

Comments:

1.  I placed the main unit of the radio under the driver's seat rather than the passenger seat because the exhaust pipe runs under the right side of the Forester.  You could also place the main unit in the spare tire well which would shorten up the antenna feedline.

2.  In retrospect, I would have bought the antenna mount with the longer feedline.  The extension feedline is larger in diameter and harder to install.

3.  The trim latches on the Subaru are well made.  Be patient in removing them and make sure you have good light.  Once you have tripped one latch the rest usually come loose easily.

4.    I opted for the small flexible dual band antenna so I can get in and out of parking garages.  It performs well.  I carry a full sized dual band antenna that can be installed if I need more gain.

5.  Let me know how it went! 


Update for newer Forester models courtesy of Danny W. Burdick, KE4OZD

 ()

I successfully wired my 2018 today.  The 2018 has an Electronic Load Detector (ELD) sensor on the negative battery terminal and you must connect the negative radio power cable to the chassis ground bolt above the fuse box between fuse box cover and the shock cover.


.
Difference is mine is a 2018
with an ELD sensor on the negative battery terminal
(Electrical Load Detector) yes a heavy 2nd wire leaving to a sensor.

In your case you are good...but for the newer Forester's
Gotta c


 <burdick@digital.net>


Return to N7CFO homepage